Sign in & onboarding
What this flow does
statycs uses passwordless sign-in — there is no password to set, remember, or reset. You sign in either with a passkey (Windows Hello, Touch ID, your phone, or a security key) or with a 6-digit code sent to your email. After that you pick an organization, accept an invitation, or create a new one. New organizations also pass through plan selection and a first-run wizard before the app opens.
Some organizations require a passkey — from their administrators, or from everyone.
TL;DR
Passkey, or email → 6-digit code → pick or create an org → (new orgs) plan + first-run wizard → app. An organization can require a passkey.
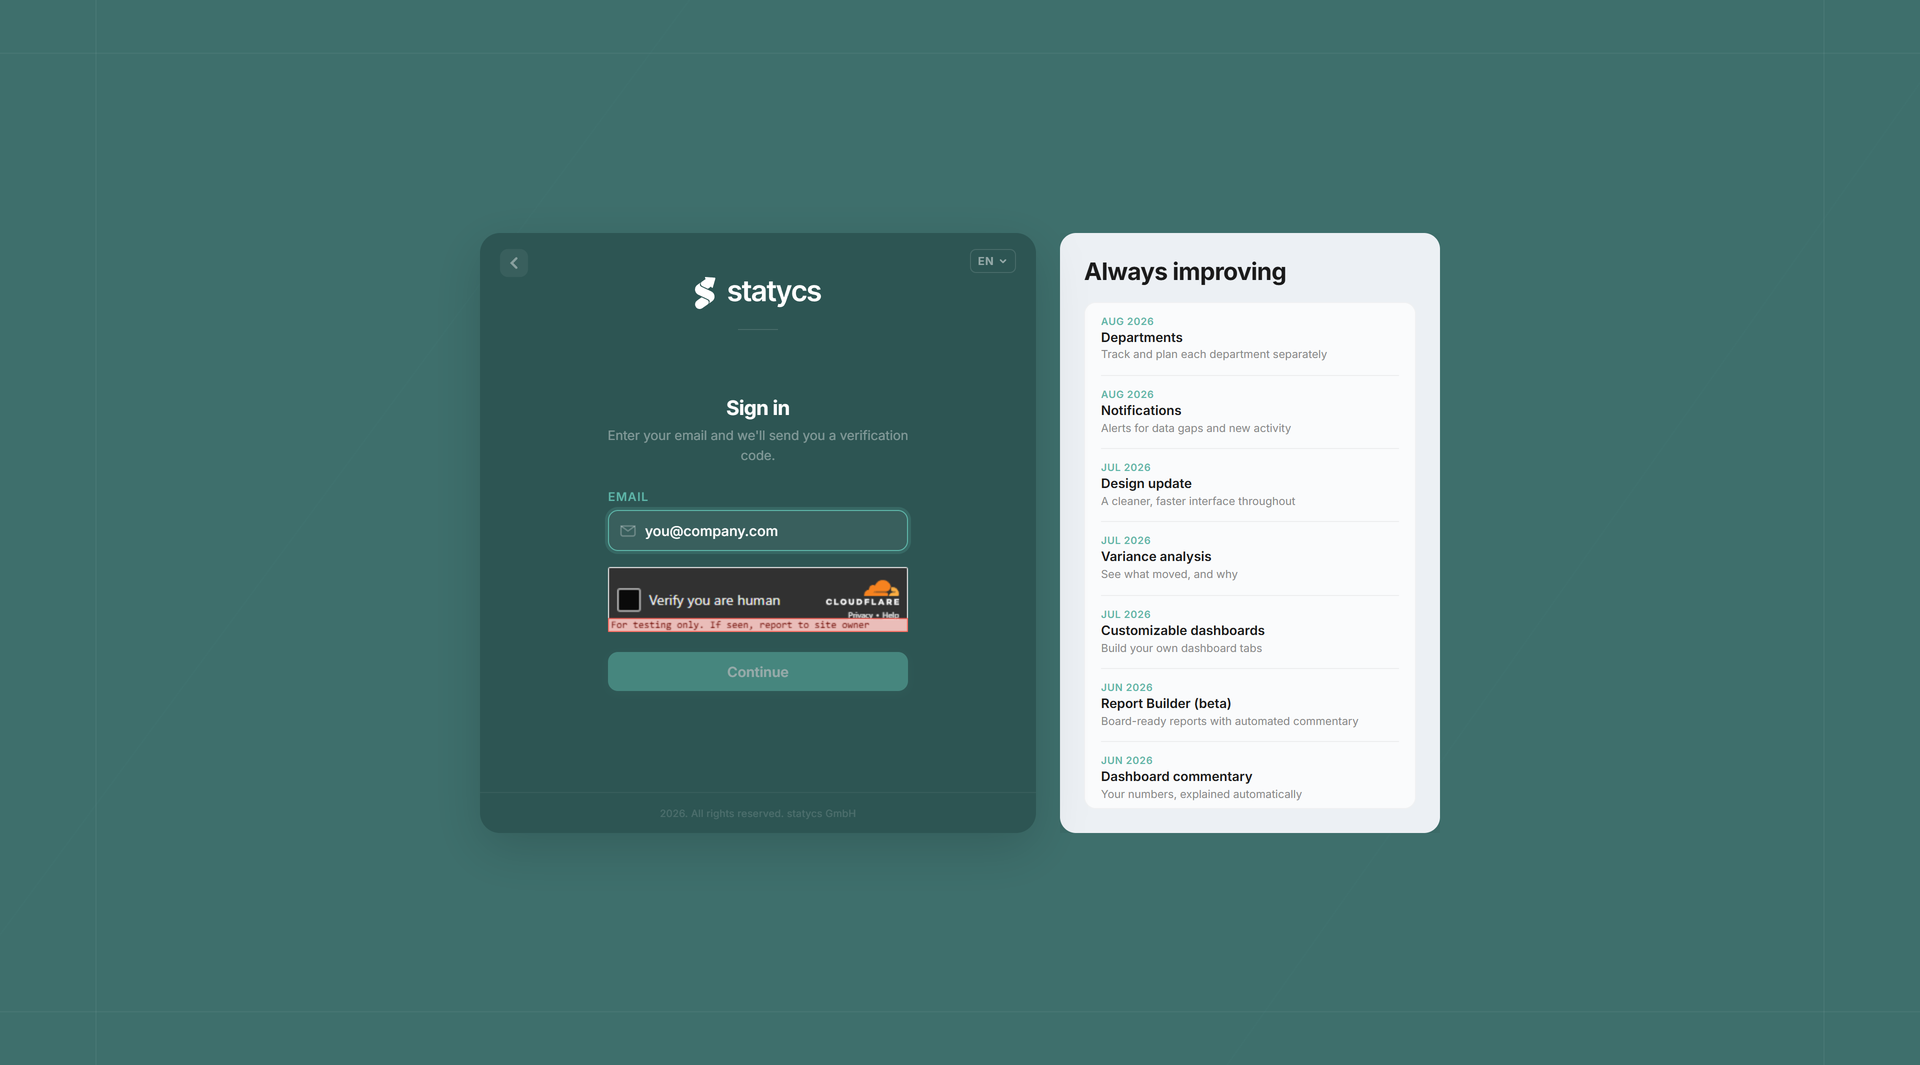
Sign in (email code)
Open the app and you land on the sign-in card.
- Enter your email and click Continue. statycs detects whether the address belongs to an existing user or a new one.
- Check your inbox for a verification email containing a 6-digit verification code.
- Type or paste the code into the six boxes. The form auto-advances between digits and auto-submits when all six are filled.
- If the code is wrong, the inputs clear and the first box is refocused. Use Resend email to request a new code (30-second cooldown).
You can change the address with the pencil icon on the email pill before verifying.
Sign in with a passkey
A passkey signs you in with the unlock you already use on your device — Windows Hello, Touch ID, your phone, or a security key. There is no code to type and nothing to wait for in your inbox.
Enter your email as above. If your account holds a passkey, statycs offers Use your passkey alongside Email me a code; the email code stays available unless an organization requires a passkey.
After an email-code sign-in, statycs offers to save a passkey for next time. Your passkeys live under Settings → Profile → Sign-in & security.
When an organization requires a passkey
The requirement starts on a date an administrator sets. Until then nothing changes for you.
Once it applies, that organization’s tile in the selector tells you which step is yours — set one up, or sign in with the passkey you already hold. A new passkey may need an administrator’s approval before that organization opens, and Continue without {org} lets you carry on with the others in the meantime.
Caution
If you lose your passkey, choose Lost your passkey? and statycs emails you a recovery code. Entering that code removes every passkey on your account and signs you out everywhere — if any of your devices still holds one, sign in with that instead.
Picking an organization
What happens after you sign in depends on whether your account is already a member of any organizations.
- One or more orgs. You see the Select your organization screen: a grid of tiles, each with a logo (or colored initials), the org name, and your role (Super Admin, Admin, Editor, Viewer, or Guest). Click a tile to enter. There is also a New organization tile if you want to create another one. The avatar in the top right lets you sign out. A tile can also be closed because that organization requires a passkey.
- No orgs. statycs shows You’re not a member of any organization, with a button to create one. It also repeats the address you signed in with, because an invitation is sent to one specific address: if that line is not the address you expected, sign out and sign in with the right one.
A search field filters the grid by org name once you have many organizations.
Invitations
An administrator does not add you to an organization — they invite you, and you decide. An open invitation appears in the selector as a tile marked Invitation, offering Accept and Decline. If that organization requires a passkey, the invitation says so before you accept.
Invitations expire after 14 days. If yours has lapsed, or you declined by mistake, ask an administrator there to send a new one.
Creating a new organization
The create-org form asks for two things:
- Organization name — required. This is also the subscription holder.
- How did you hear about us? — optional dropdown (AI assistant, search engine, social media, recommendation, blog, event, returning user, other).
Submitting the form creates the org with default currency EUR and fiscal year starting January. Both can be changed later in Settings. You also confirm the Terms, Privacy Policy and DPA by creating the account.
After the org is created, statycs sets it as your active org and moves you to the plan step.
Choosing a plan
The plan step appears only when you have just created a new organization. Existing orgs that already have a subscription skip straight to the app.
- Billing cycle. Toggle between Monthly and Annual. Annual shows the percentage saving inline.
- statycs Core. The base plan, priced in EUR. The card shows what’s included: a fixed number of user seats, one company seat, and unlimited guest viewers. All core FP&A features (Dashboard, Financials, Analysis, Planning, Reports) are in Core. The only feature upgrade is the optional Departments add-on, billed on top.
- Seats. Adjust user seats and company seats inline; the live total updates as you change them.
- Add-ons. Optional modules such as Departments are available; see Departments for details.
Click Continue to move into checkout. The 14-day trial starts when checkout completes; you can cancel anytime during the trial without being charged.
After checkout, a short welcome screen confirms your trial is live. Click Get started to enter the app.
First-run wizard
The first time you open a freshly created org, statycs slides down a four-step onboarding card over the app. You cannot use the rest of the app until the wizard is finished or paused. You can pause at any time using Pause onboarding in the top right and resume from where you left off.
- Upload data. Drop your trial balance and basic company details (currency, country, industry). See Onboarding → Upload Data.
- Design your FSD. Define your P&L, balance sheet, and cash flow structure. See Onboarding → Design Financial Statements for the hierarchy and predefined positions.
- Map accounts. Drag each trial-balance account onto the correct level-2 position. statycs pre-maps what it recognizes; the rest sits under Non-categorized until you place it. See Onboarding → Map Accounts.
- Completion. A short confirmation screen with a Get started button. Clicking it slides the card away and reveals the app.
You can step backwards between 1, 2 and 3 using the topbar tabs. Step 4 ends the wizard.
What if I get stuck?
If the code email never arrives, check spam, then use Resend email. If a passkey will not work, Use an email code gets you in wherever a passkey is not required.
If an organization stays closed because it requires a passkey, set one up and ask an administrator there to approve it. If you are its only administrator, write to [email protected].
For anything else, email [email protected] — include the email address you signed in with and the org name if you know it.